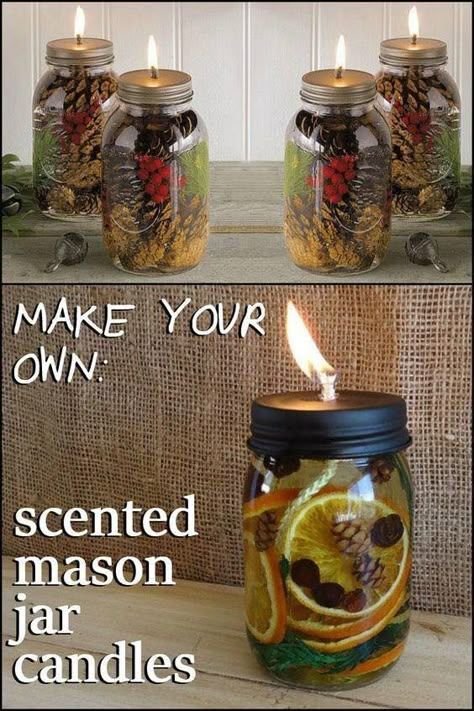
This mason jar oil lamp combines the warm, comforting scents of pine cones, evergreens, and cinnamon sticks with a touch of essential oils for a handmade holiday gift that’s both beautiful and practical. They’re simple to assemble, budget-friendly, and you can easily make several at once for friends, family, and coworkers.
Every year, I like to create something homemade to give during the holidays. In the past, I’ve made bayberry candles, spice blends, and simmering potpourri. This year, I decided to try mason jar oil lamps—they’re charming, smell wonderful, and give a soft, cozy glow.
I first came across the idea while reading about people who use olive oil lamps as an eco-friendly lighting source. Olive oil burns cleanly and safely without giving off unpleasant odors, making it a perfect choice for indoor candles.
Materials You’ll Need
- Pint-sized mason jars
- Olive oil (light olive oil works best)
- Dried orange slices
- Cinnamon sticks
- Small pine cones
- Fresh cedar sprigs or other greenery
- Floating wicks
- Essential oils (rosemary, sweet orange, or cinnamon are great choices)
- Wooden skewer or pencil for arranging botanicals
- Ribbon or twine for decoration (optional)
A Few Safety Notes
Always handle candles carefully. Never leave them burning unattended, and keep them away from anything flammable or within reach of children. Set your jar on a sturdy, heat-safe surface before lighting.
How to Make a Mason Jar Oil Lamp
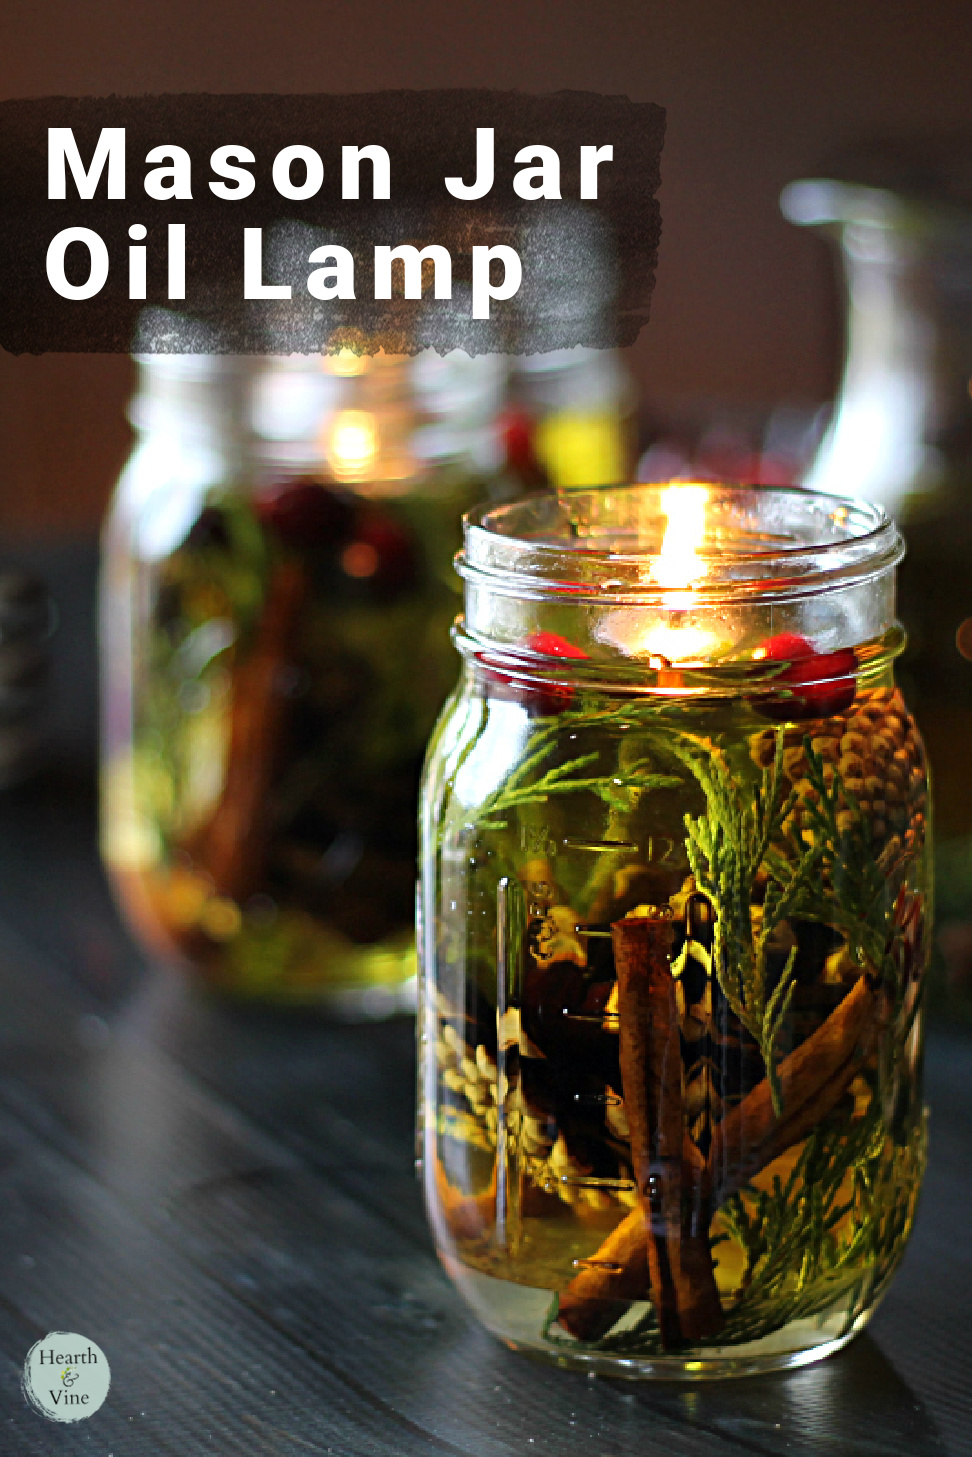
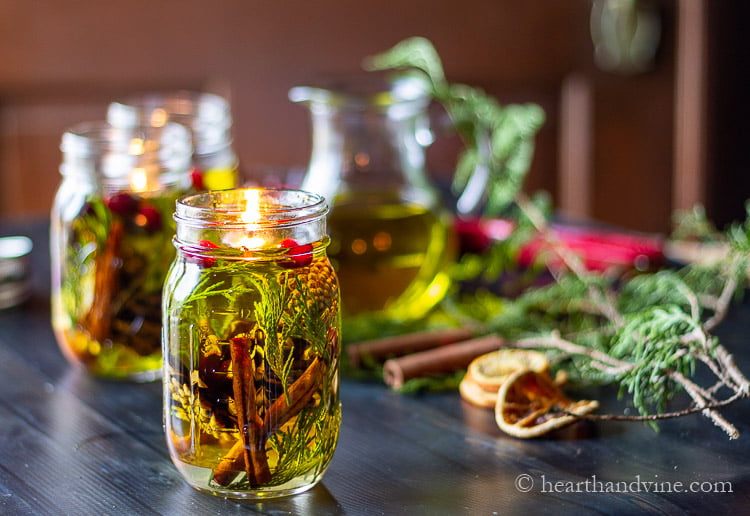
- Prepare the jar. Fill your mason jar about three-quarters full with your chosen botanicals—cranberries, pine cones, cinnamon sticks, and dried orange slices add both color and fragrance.
- Arrange the materials. Use a wooden skewer or pencil to position the items so they’re evenly spaced and visually appealing.
- Add essential oils. Pour a few drops of your favorite essential oils into the jar for an extra boost of scent.
- Pour in the oil. Slowly fill the jar with light olive oil until it reaches just below the rim. Make sure the botanicals are fully covered but leave enough space for the floating wick.
- Add the wick. Place a floating wick on top of the oil. When gifting, you can tape the wick to the lid to keep it from sinking during transport.
Helpful Tips
- If you want the candle to last longer, you can add a bit of water beneath the oil—just know that over time, the water may turn cloudy.
- When the wick burns out, replace it easily with another floating wick or a trimmed wick from an old candle.
- You can experiment with artificial flowers or greenery for a seasonal variation. They hold up beautifully when combined with oil and a little water.
Finishing Touches
Once your candles are ready, print or handwrite small gift tags with burning instructions or a festive message. Tie them around the jar with a piece of ribbon or twine for a rustic touch.
After some trial and error, I found that floating wicks are the key to making these oil lamps work perfectly—they stay lit, look elegant, and are simple to use. Once you’ve made one, you’ll see how easy it is to create a whole batch in a single afternoon.
These mason jar oil lamps are more than just pretty—they’re thoughtful, aromatic gifts that bring warmth and cheer to any home. Perfect for Christmas, winter gatherings, or cozy nights in, they make a lovely handmade present that everyone will appreciate.