Let me be clear — I’m not a minimalist. I’m not a neat freak either. But visual clutter? It gets to me. Not right away, but once it piles up enough, I go full-Monica. At the same time, the idea of decluttering my entire home in one go stresses me out just as much.
Here’s what I’ve learned: you don’t need to declutter everything at once. You just need a plan that breaks it down into smaller, achievable steps. That’s the real secret to staying sane while getting organized.
Recent research even links clutter to increased stress levels, proving that mess isn’t just about appearances — it affects how we feel. But don’t worry; there’s a method to control the madness. Here’s how I approach decluttering without getting overwhelmed.
1. Break Down the Task
Not every part of your home needs attention at once. If you try to tackle everything in a day, you’ll end up exhausted and frustrated — probably surrounded by an even bigger mess.
Think of decluttering as a long-term goal that you reach through short, manageable projects. Break it down by room or by zone. You can start with the area that needs the most work if you want a visible win right away. But if that feels too daunting, start small — your entryway, a bathroom counter, or a single closet shelf.
2. Set Realistic Deadlines
Give yourself a timeline that fits your life. It could be a month, or even three months. The goal isn’t speed — it’s progress.
Once you have a bigger timeline in place, set smaller, focused deadlines for specific projects. Maybe your bedroom gets one weekend, your kitchen the next. That structure keeps things moving without the pressure of perfection.
3. Make a Room-by-Room Checklist
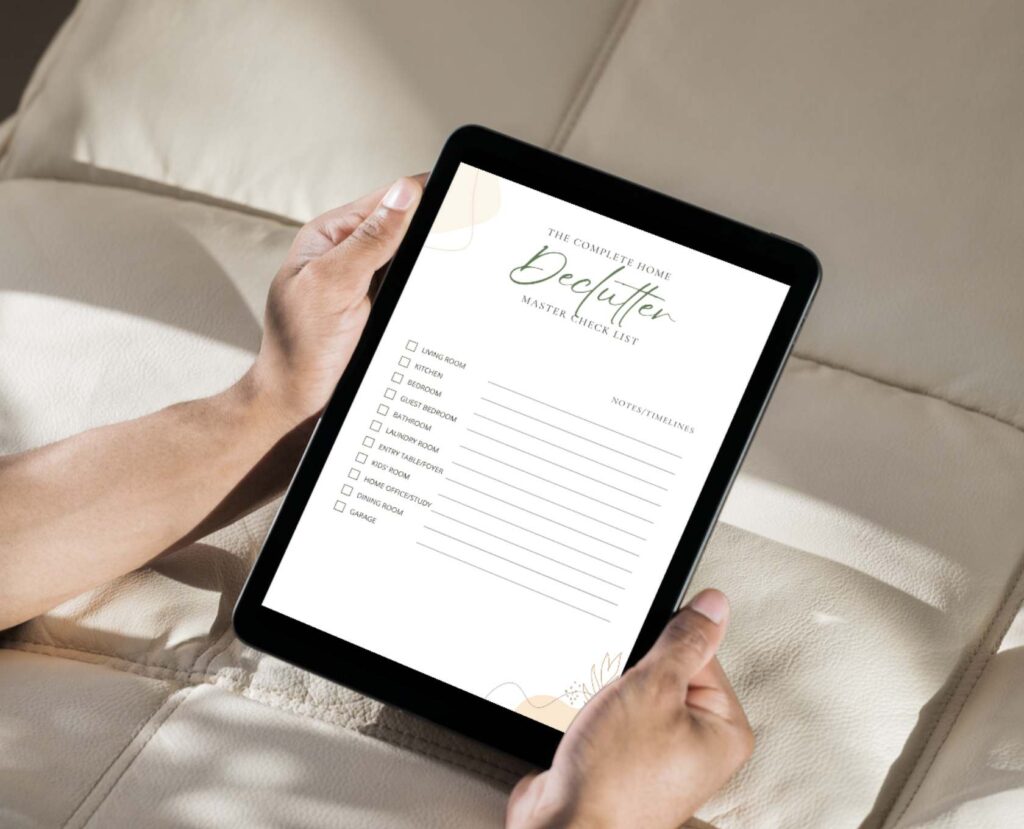
A checklist is your best friend during a home declutter. It helps you stay organized and gives you that satisfying sense of accomplishment when you cross things off.
Write down what each room needs — from clearing drawers to sorting decor. You’ll save time, energy, and avoid missing those “forgotten corners.” You can even print or create your own master declutter checklist that includes every major area of your home — kitchen, bathroom, entryway, bedroom, laundry room, garage, and so on.
4. Gather Your Gear
Before diving in, get your supplies ready. You’ll need a few bins or bags for sorting things into categories:
- Relocate: Items that belong somewhere else.
- Throw: Trash or broken things that can’t be salvaged.
- Donate: Items someone else could use.
- Repair: Things worth fixing.
Having your bins ready helps you stay focused instead of jumping from task to task.
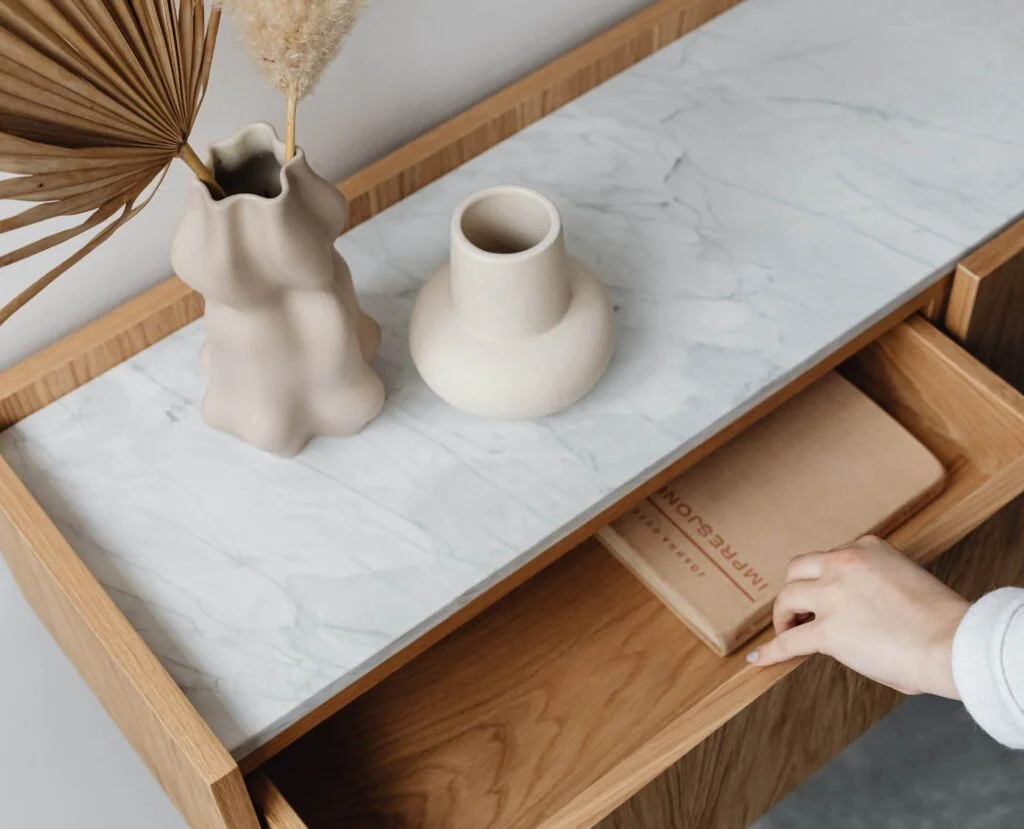
5. Clear Off Surfaces First
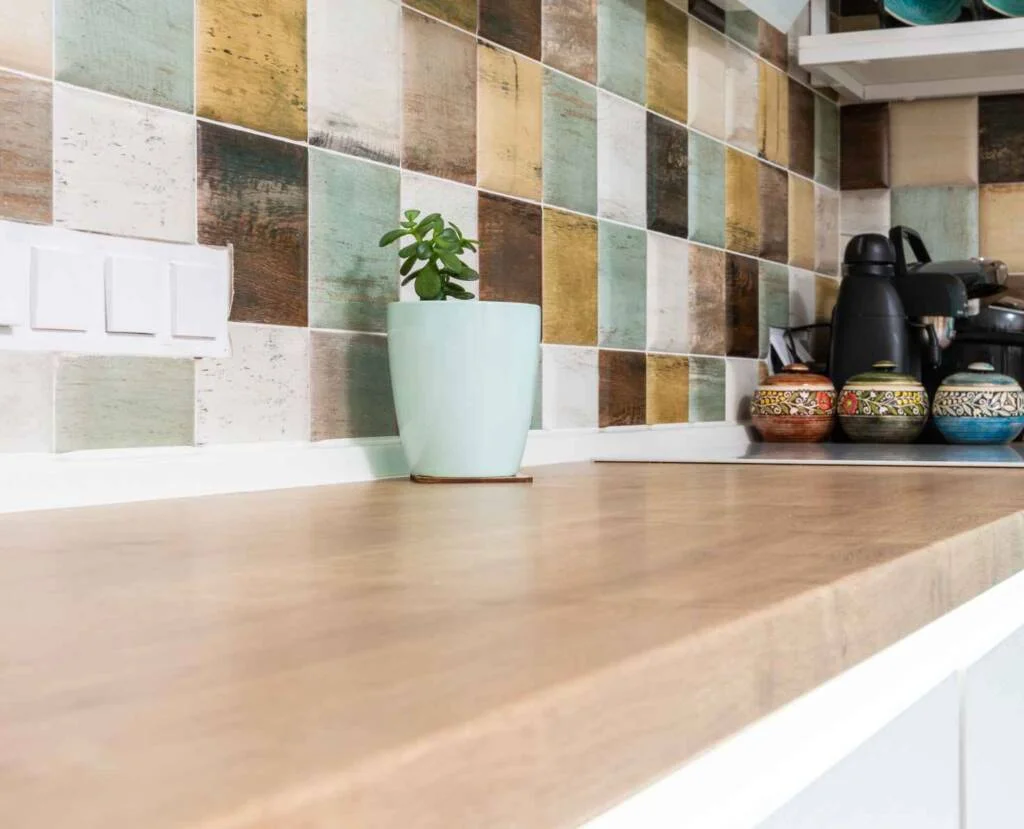
Start with what you see every day — counters, tables, and visible surfaces. These areas create the strongest impression of clutter.
In the kitchen, begin with your countertops. In the living room, clear off the coffee table. Once those obvious spots are tidy, you’ll already feel lighter and more motivated to keep going.
6. Celebrate the Small Wins
Don’t wait until your whole house is spotless to celebrate. Every little bit counts.
Cleared your entryway? Organized your dresser? That’s progress. Take a break, sip your coffee, and enjoy that mini victory — because each one adds up to a calmer, cleaner space.
7. Create Systems That Work for You
Decluttering isn’t a one-time event — it’s about building habits that stick.
Give everything a home so it’s easy to put away. Create drop zones for everyday items like keys, mail, and shoes. Use baskets or bins for high-traffic clutter spots like the kitchen island.
Find small routines that help you maintain order — maybe a 15-minute tidy-up each evening or a weekly reset before the weekend starts. Little systems like these prevent the mess from sneaking back in.
8. Don’t Forget to Take Breaks
Decluttering can be mentally exhausting, so don’t push yourself too hard.
Take a snack break, drink some water, or stretch a bit. Stepping away helps you stay focused and keeps the process enjoyable instead of stressful.
When you return, you’ll see your space — and your progress — with fresh eyes.
9. Enjoy the Results
Once you’ve made it through, take a moment to appreciate your work. Sit back, light your favorite candle, and soak in that satisfying calm of a clutter-free home.
There’s nothing like relaxing in a space that finally feels peaceful, organized, and completely yours.
Would you like me to make this version sound a little more Pinterest-optimized next (with a short, catchy intro paragraph and a share-friendly meta description)?